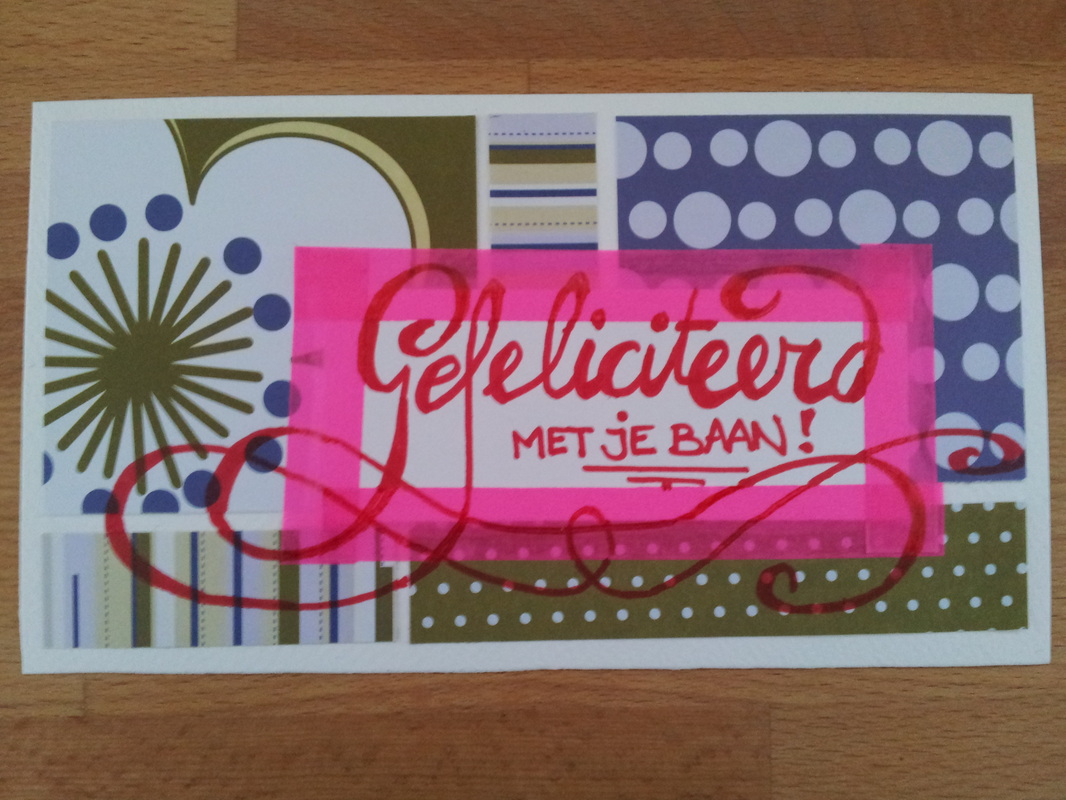
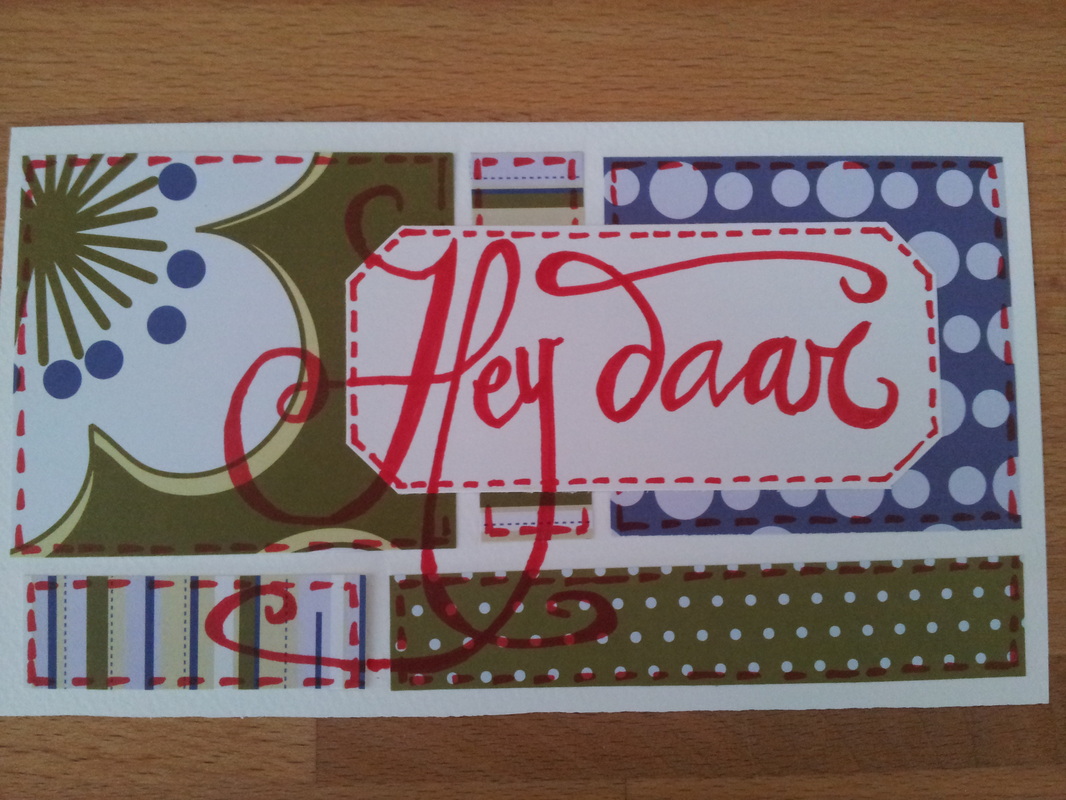
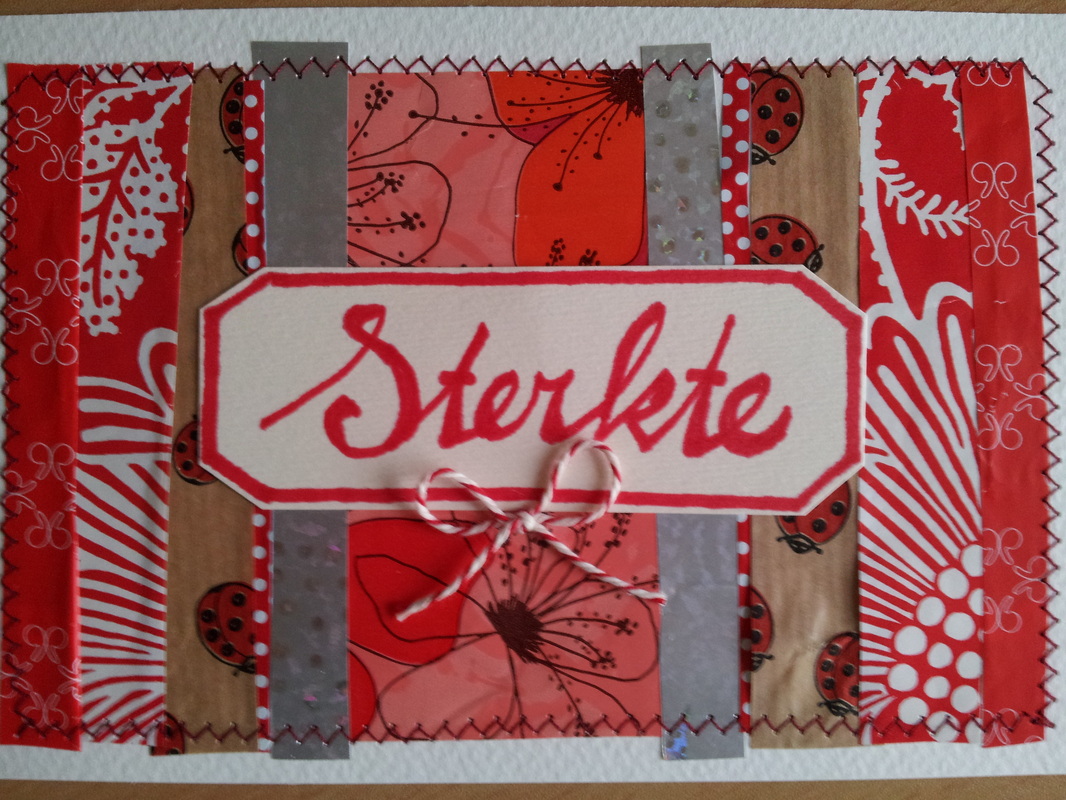
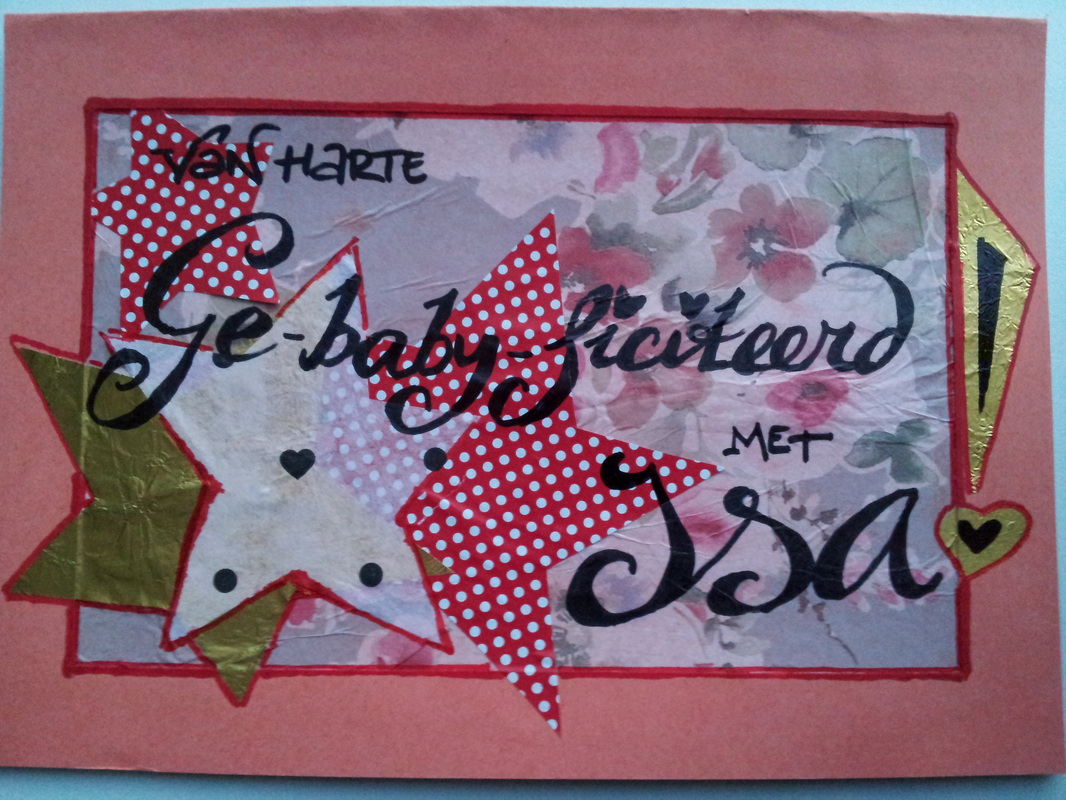
I love making cards, they are easy enough projects when you just have half an hour laying around somewhere. And you can personalize it how you want. Here a simple example. The base of the two cards is actually the same but it looks different because of the added washi tape in the congratulations card, when comparing it to the hey there get well card.
I forgotten that I shot this video in two parts, so when I made the first part and started to upload that, I discovered the second one, that's why this movie is in two parts. Anyway, it is a layout from my visit to Lochem, which is really lovely and we had beautiful whether, so we cycled a lot. Enjoy the process videos! I made a card for a friend who's not feeling to great lately. I'm planning on a real card hug by sending here a card every single week so that she knows that I'm thinking off here and wishing here all the best.
Did you know by the way that making a bow that is not attached to anything is actually quite hard. I discovered this when using the white and red string in this card. Here is my second layout! I used more scrap paper. First the pics: And here is the movie, my second one. I'm truly sorry that it suddenly stops the recording, no idea what happened there. I also tried to include the pictures in the movie itself, but although I see them in the film strip, they magically disapear after I rendered the video. O well, next time better. For a few weeks in a row I've been busy together with a good friend on a few paintings in one of her childrens bedrooms. We painted on two walls opposite of each other. On one I painted a dragon and its rider. On the other one two viking shields and the sign of the sport the boy is attending.
I made a bracelet for a good friend in England with whom I write for 6 years now. The bracelet is made out of parachute cord (a thick aqua blue one and a thinner navy blue + aqua blue parachute cord). The beads were from my aunt , which are beautiful, but I needed to pay attention to the holes, because for some of the handmade beads were too small to get the parachute cord go through twice, which you need to do with this technique. I have included a close up to show how I set it up. I use a little wooden board, with at both ends a wooden block to lift up the cord. The thicker parachute cord is folded in the middle and there I attach it with some elastic band to the end of the wooden board. At the other end of the wooden board I've placed two pushpins that fix the other ends of the parachute cord. The thinner parachute cord is then wrapped around the thicker parachute cord. I added some buttons (the orange things) as well, which came from my grandmother who was really holding on to all buttons she ever owned, so I've inherited hundreds from here. When I realized I certainly could make my own cards, I made a promise to myself, always to make my own. This time I made a card for a good friend who welcomed Lisa to this world.
I love those sites with sketches that lead your way, here I used another one, this time on an enveloppe with a blue funky grid inside. On the inside of the enveloppe I created the layout below. I can't remember if I did use a layout here as well, don't think so.
|
AuthorHi, I'm Bregtje. Here you can find me with my head between piles of paper, sticking stuff in arty albums and brushing away with paint. But I also can be found with my head in a newly home made cupboard or above the kitchen stove or even up side down in the garden! And now I'm developing a new hobby to add to my ever growing project list: blogging about it all! Please find my Garden blog, Kitchen blog, Homemaking blog and Art blog here! Archives
August 2021
Categories |